|
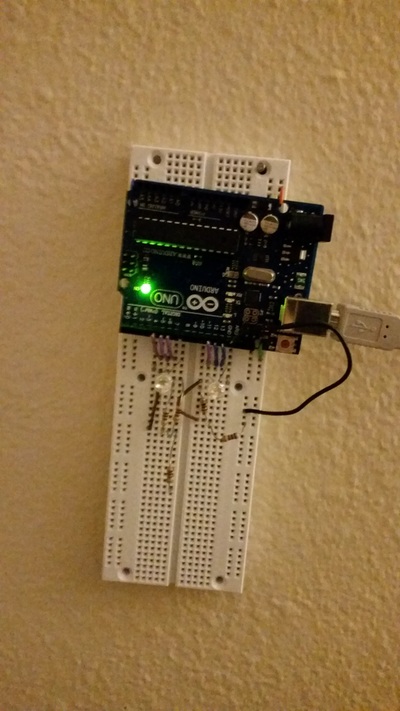
Left: First prototype. Using the arduino clock only, powering a single RGB LED
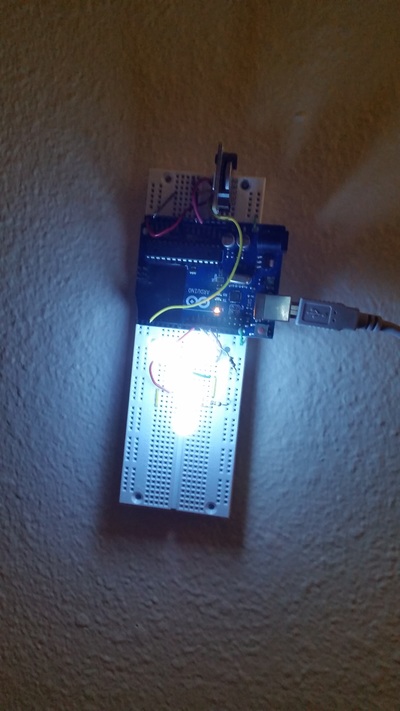
Right: As it is today, real time clock module (top) and 5 powerful white LEDs
Being from Fairbanks, Alaska, I am used to the fickleness of the sun from season to season, and have coped with many mornings of waking up when it was pitch black outside. Seattle gets a more daylight in the winter months than where I grew up, but the rain and clouds doesn't make it much better.
I wanted a light alarm clock to help me get out of bed on those dark dreary mornings. I had looked for a luminous alarm clock online, but didn't like any of them. They were all large, counter-top clock-radio devices with big LCD screens and features I didn't want, without the ability to be programmed on a clever schedule. I decided that it was a simple enough thing I could make on my own. This was a small project, and also one of the few I have ever completed in a single weekend. I had considered using an internet-connected spark core for this project, but I had another use in mind for my one and the power output is rather low. Being internet connected could have made time-keeping much easier, but chose to use an Arduino Uno because I had a couple of them laying around and knew it would be able to pack enough of a punch to light up many LEDs. Friday night I quickly prototyped the device on a breadboard with an RGB LED I had in my stock, and just using the Arduino's timer, I was pleasantly surprised to see that it was on the following morning! An arduino's built-in clock is not adequate for time keeping and would become wildly inaccurate over a few weeks. I upgraded to the DS1307 real-time clock with a coin-cell battery backup. It tracks time and communicates to the arduino over an I2C bus. If you happen to be using that same device, I discovered that Vbat and Ground do need to be shorted together. Otherwise, the clock will report a time, it just won't increment it. I soldered on a 90 degree header strip and plugged it into my breadboard vertically. The LED's are in a 10mm package and run on 3.2 V with 20 mA of forward current. I chose bright white to help me wake up faster. I bought 9 but I stopped wiring after 5, and it seems to be enough to get me out of bed. I choose to keep them on from 7 am to 9 pm, to give the bedroom a little more light during the day. After a frustrating few hours of software debugging I concluded that the battery backup for the real-time clock was not functional. I haven't dug very deep yet, but in the spirit of rapid prototyping I wanted to sprint to what would be good enough for the next morning, and make fixes as needed later. I programmed the RTC with the correct time when it was plugged in, and it would keep time from there. This will be just fine unless power is interrupted. In the Seattle area, with it's abundant hydroelectric power, outages are very rare. Code:
The debugging statements and planned features are left in. I found the serial output commands to be very useful when debugging. I borrowed the bulk of this code from another tutorial, the source of which I cannot find right now.
1 Comment
|
Lars OsborneBS Mechanical Eng Categories
All
|


 RSS Feed
