Lars Osborne
Lars Osborne
Resume
Portfolio
Professional Projects
Recommendations
Blog
Resume
Portfolio
Professional Projects
Recommendations
Blog
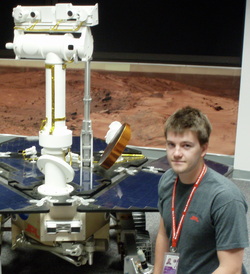
Job shadowing Opportunity rover operations in 2009.
Your browser does not support viewing this document. Click
here
to download the document.
lars_osborne_resume_feb2019.pdf
File Size:
36 kb
File Type:
pdf
Download File
Contact me
*
Indicates required field
Email
*
Message
*
Submit